Cracks in Walls and Ceilings: What's Normal in a Bellingham Home
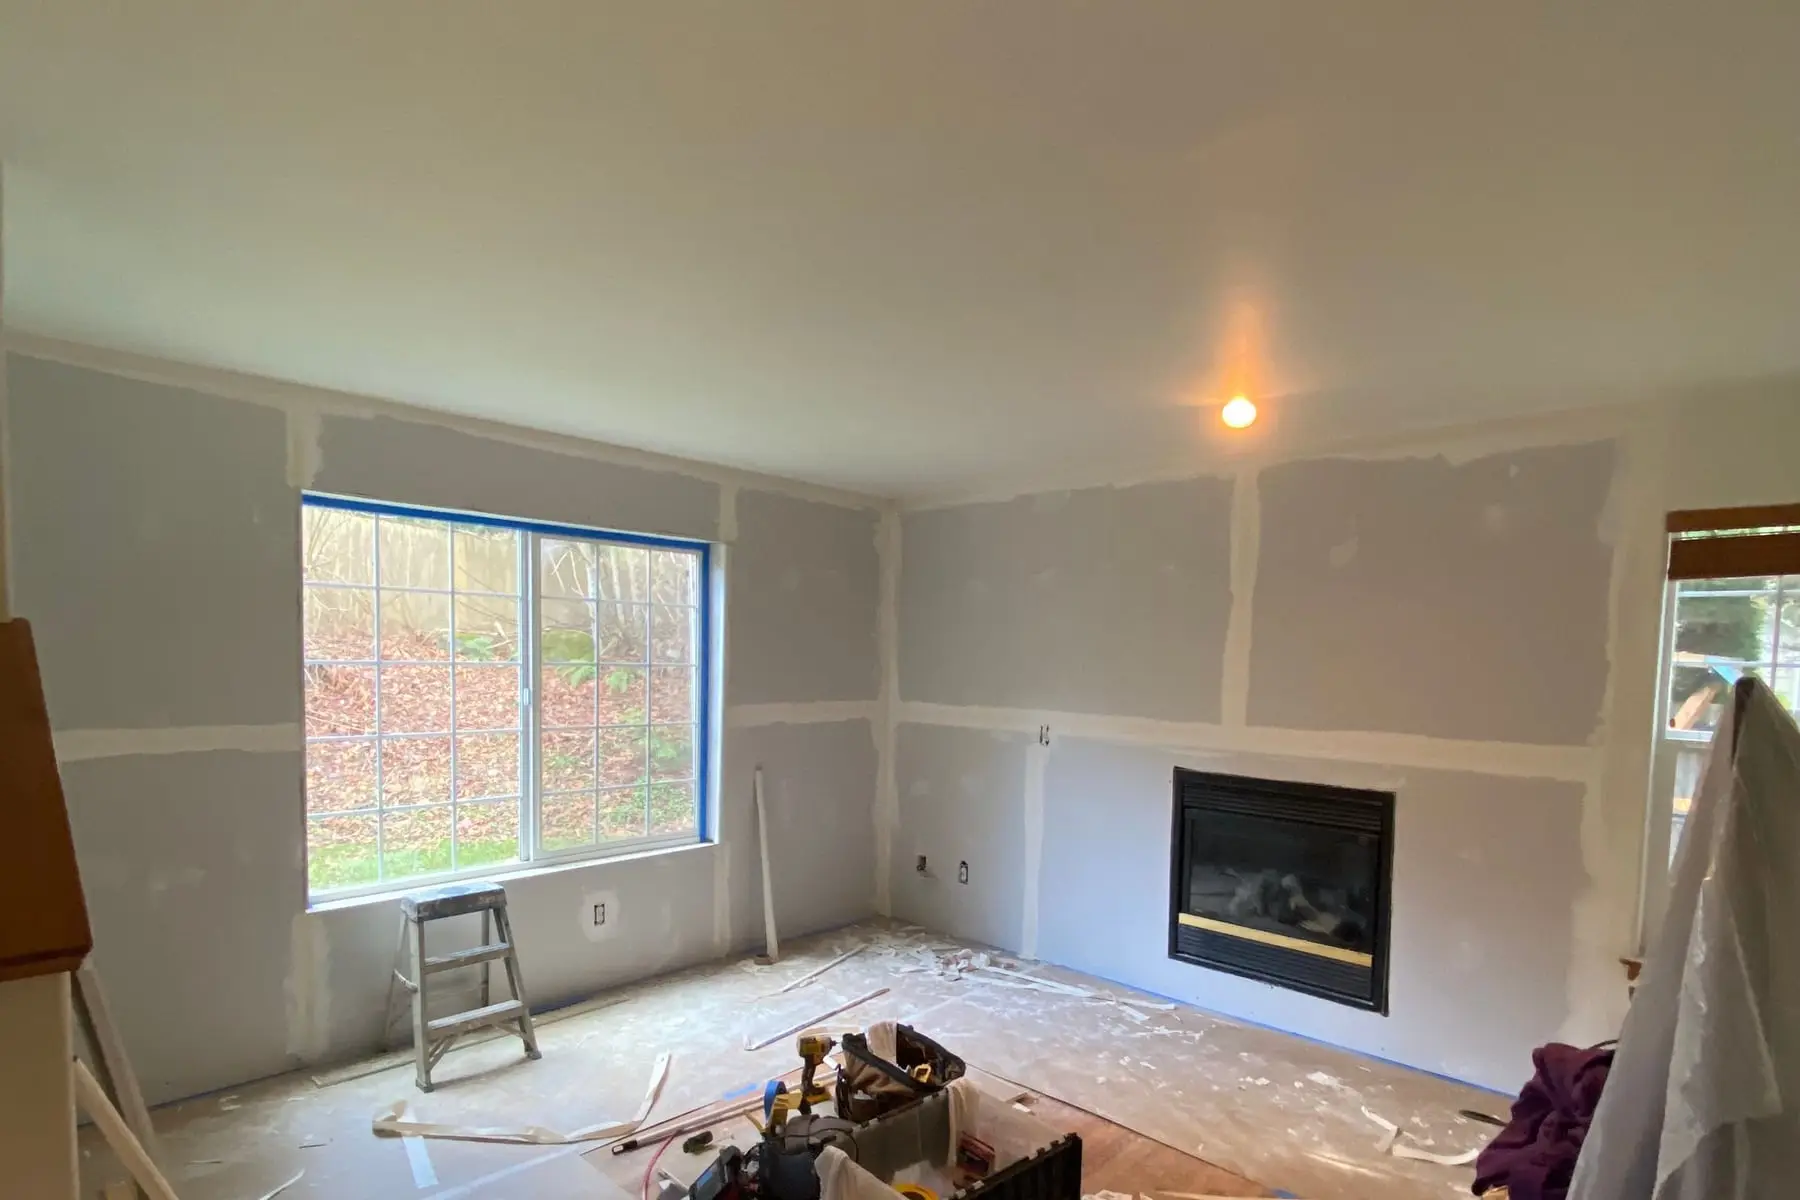
Cracks tend to show up when the heat comes on. A house that spent the summer with the windows open dries out in October, the framing shrinks a little, and a line appears over a door or along a ceiling seam that you would swear was not there in August.
Most of these are cosmetic, and fixing them is ordinary drywall and sheetrock repair. A few are the house telling you something, and for those a painter is the wrong first call.
Why Walls Crack Around Here
A house is wood, and wood moves. Ours soak up a long wet winter and then dry out twice: once in summer, and again indoors when the furnace runs. The framing swells and shrinks with all of it. Drywall does not. It is a rigid sheet screwed to a frame that keeps shifting, so it gives at its weak points, which are the joints.
That is why cracks show up in the same few places. Along the seam between two sheets. Running up at an angle from the corner of a door or window. In the line where the wall meets the ceiling.
Older homes do it differently. The craftsman bungalows in Columbia and the Lettered Streets have original plaster, and plaster is harder and more brittle than drywall. Its cracks wander. They also tend to be old, stable, and painted over several times already.
New homes crack too, mostly in their first couple of years while the lumber finishes drying.
The Ones That Are Only Cosmetic
These are the cracks we repair every interior season without much worry:
- A thin line along a drywall seam, straight as a ruler
- A short diagonal crack off the top corner of a door or window
- A fine crack where the wall meets the ceiling
- Small round bumps where a screw or nail has pushed out
They have two things in common. They are about as wide as a pencil line, and they look the same this year as they did last year.
The Ones to Take Seriously
We are painters. When we see any of the following, we say so, and we suggest an engineer or a foundation contractor looks at it before anyone patches anything:
- A crack wide enough to slide a coin into
- A crack that is wider at one end than the other
- Doors or windows that began to stick around the time the crack appeared
- Stair-step cracks in brick or block
- A ceiling that sags, or a crack with a brown stain along it
The stain deserves its own note. A crack with a water mark is a leak first and a wall problem second. Fix the roof, the pipe, or the gutter, let the wall dry, and then repair it. We check for moisture around stains and will not close up a wall that is still wet.
Why the Patch Keeps Coming Back
Nearly everyone has tried the tub of spackle. It works for a few months. Then the crack reopens along the same line, and now there is a smooth stripe in the wall texture and a patch of touch-up paint with a different sheen.
Filler has no strength. It plugs the gap without tying the two sides together, so the next season of movement splits it again. And paint ages on the wall, which is why a dab of the original color almost never matches.
How We Repair a Crack So It Stays Gone
The repair is the same whether it is one crack or a dozen.
We cover the floors and furniture first, because sanding joint compound makes fine dust. Then we open the crack and cut back anything loose until we reach solid material. The joint gets taped and coated in thin, even passes, with drying time between them.
Texture is what gives a repair away, so that comes next. Orange peel, knockdown, or smooth, we feather the new texture past the edges of the patch. Then primer, so the repair does not show as a dull spot under the finish coat.
Last, we paint the whole wall, corner to corner, in two coats. That is the step people want to skip, and it is the one that makes the repair disappear.
In a newer Ferndale home we repainted in Worldly Gray, an entryway panel needed drywall repair before any color went on. It was patched, sanded, and primed flush. You cannot find it now.
One caution for older houses. If yours was built before 1978, sanding or cutting into painted walls can disturb lead paint. We are an EPA Lead-Safe Certified Firm and we test suspect surfaces before we start. Our post on lead-safe painting in pre-1978 homes explains what that involves.
What It Costs and When to Do It
The price depends on how many repairs there are, how big they are, whether the texture has to be matched, and how much of the room gets repainted. Repairs cost least when the painters are already there, so if an interior repaint is on your list, have the walls fixed in the same project.
Timing is easy. This is indoor work, and the cold, wet months are our most flexible season for it.
If you have a crack you keep looking at, book a free estimate and we will tell you which kind it is. If it is ours to fix, you get a written, itemized price within 48 hours of the visit, and qualifying work is covered by our 36-month workmanship warranty.
Common Questions